Forbidden Temple: Difference between revisions
No edit summary |
|||
| (21 intermediate revisions by 3 users not shown) | |||
| Line 1: | Line 1: | ||
== General Information == | == General Information == | ||
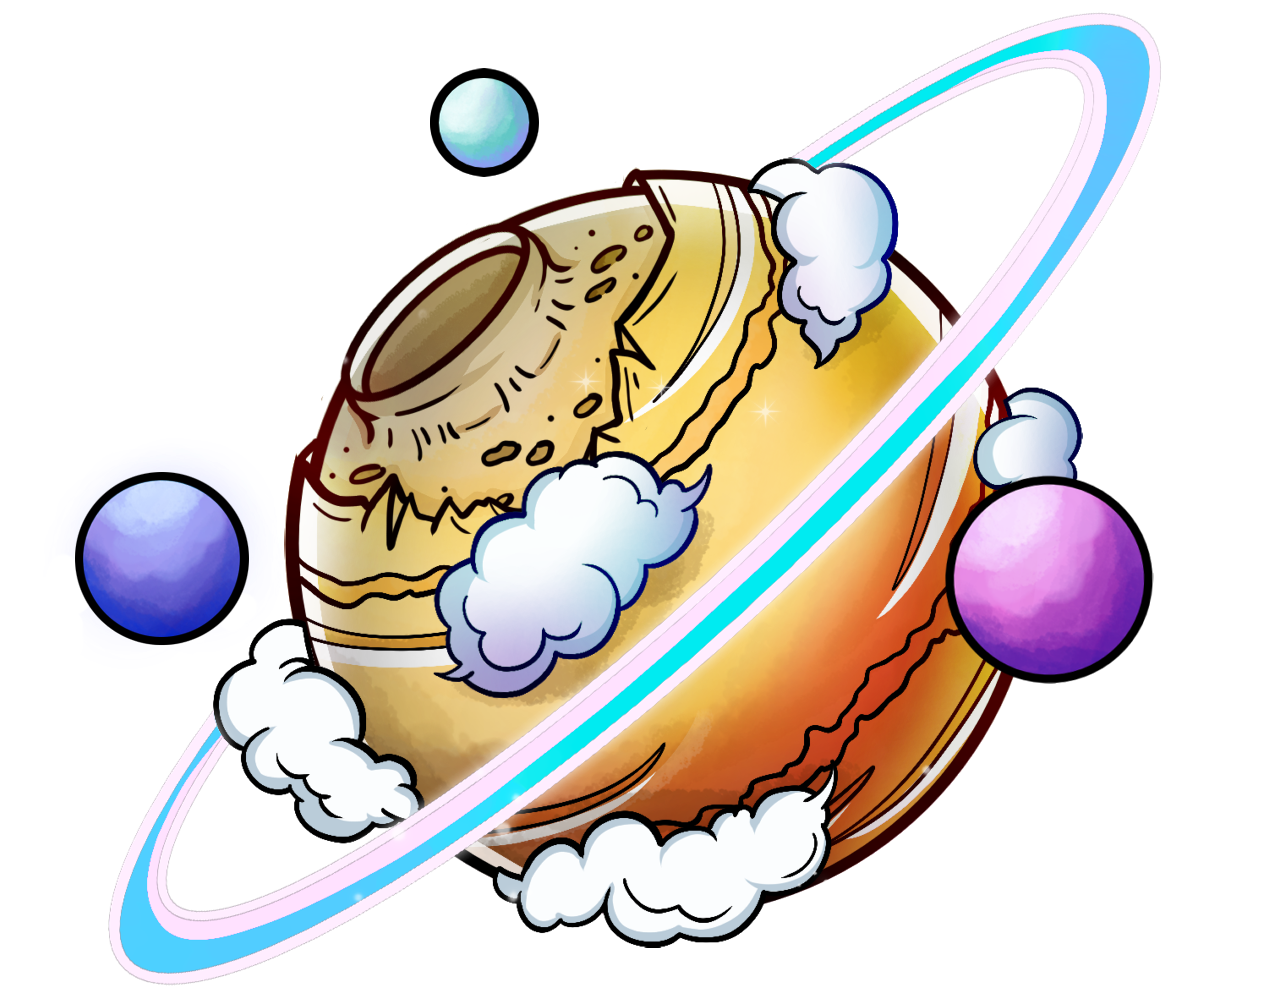
Forbidden Temple is Area 7 and consists of an ancient temple. Inside are sources of water as well as various dangers. The Forbidden Temple can be reached from the Scorched Oasis. | [[File:ForbiddenTempleShaders.png|right|frameless|540x540px]] | ||
Forbidden Temple is Area 7 and consists of an ancient temple. Inside are sources of water as well as various dangers. The Forbidden Temple can be reached from the Scorched Oasis and by completing [[Quests#Fishing Quests|Mirage Waters]]. | |||
== Fish Species == | == Fish Species == | ||
{| | |||
! Texture | |||
! Name | |||
! Rarity | |||
! Texture | |||
! Name | |||
! Rarity | |||
|- | |||
| [[File:RubyDanio.png|left|frameless|60x60px]] | |||
| Ruby Danio | |||
| <span style="color:#55FF55;">Common</span>, <span style="color:#5555FF;">Rare</span> | |||
| [[File:Steedhead.png|left|frameless|60x60px]] | |||
| Steelhead | |||
| <span style="color:#5555FF;">Rare</span>, <span style="color:#AA00AA;">Exotic</span> | |||
==== | |- | ||
| [[File:HeatwaveBarb.png|left|frameless|60x60px]] | |||
| Heatwave Barb | |||
| <span style="color:#55FF55;">Common</span>, <span style="color:#5555FF;">Rare</span> | |||
| [[File:PhoenixMinnow.png|left|frameless|60x60px]] | |||
| Phoenix Minnow | |||
| <span style="color:#5555FF;">Rare</span>, <span style="color:#AA00AA;">Exotic</span> | |||
|- | |||
| [[File:DesertDartfish.png|left|frameless|60x60px]] | |||
| Desert Dartfish | |||
| <span style="color:#55FF55;">Common</span>, <span style="color:#5555FF;">Rare</span> | |||
| [[File:SunburstGuppy.png|left|frameless|60x60px]] | |||
| Sunburst Guppy | |||
| <span style="color:#5555FF;">Rare</span>, <span style="color:#AA00AA;">Exotic</span> | |||
==== | |- | ||
| [[File:DesertPupfish.png|left|frameless|60x60px]] | |||
| Desert Pupfish | |||
| <span style="color:#55FF55;">Common</span>, <span style="color:#5555FF;">Rare</span> | |||
| [[File:SonoraSucker.png|left|frameless|60x60px]] | |||
| Sonora Sucker | |||
| <span style="color:#AA00AA;">Exotic</span>, | |||
<span style="color:#FFAA00;">Legendary</span> | |||
|- | |||
| [[File:RainbowTrout.png|left|frameless|60x60px]] | |||
| Rainbow Trout | |||
| <span style="color:#55FF55;">Common</span>, <span style="color:#5555FF;">Rare</span> | |||
| [[File:YaquiCatfish.png|left|frameless|60x60px]] | |||
| Yaqui Catfish | |||
| <span style="color:#AA00AA;">Exotic</span>, | |||
<span style="color:#FFAA00;">Legendary</span> | |||
=== | |- | ||
| [[File:InfernoTetra.png|left|frameless|60x60px]] | |||
| Inferno Tetra | |||
| <span style="color:#5555FF;">Rare</span>, <span style="color:#AA00AA;">Exotic</span> | |||
| [[File:WestAfricanCrocodile.png|left|frameless|60x60px]] | |||
| West African Crocodile | |||
| <span style="color:#FFAA00;">Legendary</span> | |||
|- | |||
| [[File:PopeyedGoldfish.png|left|frameless|60x60px]] | |||
| Popeyed Goldfish | |||
| <span style="color:#5555FF;">Rare</span>, <span style="color:#AA00AA;">Exotic</span> | |||
| [[File:DevilsHolePupfish.png|left|frameless|60x60px]] | |||
| Devils Hole Pupfish | |||
| <span style="color:#00AAAA;">Mystical</span> | |||
=== | |- | ||
| [[File:GoldenCarp.png|left|frameless|60x60px]] | |||
| Golden Carp | |||
| <span style="color:#5555FF;">Rare</span>, <span style="color:#AA00AA;">Exotic</span> | |||
| colspan="3" | | |||
|} | |||
== Shop == | |||
[[File:ForbiddenTempleShop.png|right|frameless|390x390px]] | |||
== | ===== Information ===== | ||
Purchase items from the Fish Merchant in the Sacred Pass using Spirit Fragments. Fragments can be obtained from killing both area mobs and bosses. | |||
===== Items ===== | |||
* 32x Sand | |||
* Scythe | |||
* Saddle | |||
* Camel Spawn Egg | |||
== Area Mobs == | == Area Mobs == | ||
{| | |||
!Texture | |||
!Mob Name | |||
!Drops | |||
<code><small>base% * (1 + 0.2 * lootingLevel)</small></code> | |||
!Location | |||
|- | |||
|[[File:FishSO.png|left|frameless|90x90px]] | |||
|Fish | |||
| | |||
<span style="color:#FFAA00;">(5%)</span> Amber Fragment<br> | |||
<span style="color:#FFFF55;">(30%)</span> Cod<br> | |||
<span style="color:#FFFF55;">(30%)</span> Bone Meal<br> | |||
<span style="color:#FFFF55;">(30%)</span> Sand | |||
|Found in Water | |||
|- | |||
|[[File:Hyena.png|left|frameless|90x90px]] | |||
|Hyena | |||
| | |||
<span style="color:#FFAA00;">(5%)</span> Amber Fragment<br> | |||
<span style="color:#FFFF55;">(30%)</span> Bone<br> | |||
<span style="color:#FFFF55;">(30%)</span> Rotten Flesh<br> | |||
<span style="color:#FFFF55;">(30%)</span> Leather | |||
|Found near Small Cliffs | |||
|- | |||
|[[File:LizardSA.png|left|frameless|90x90px]] | |||
|Lizard | |||
| | |||
<span style="color:#FFAA00;">(5%)</span> Amber Fragment<br> | |||
<span style="color:#FFFF55;">(30%)</span> Leather<br> | |||
<span style="color:#FFFF55;">(30%)</span> Sand<br> | |||
<span style="color:#FFFF55;">(30%)</span> Spider Eye | |||
|Found in Shady Areas | |||
|- | |||
|[[File:Sandcat.png|left|frameless|90x90px]] | |||
|Sand Cat | |||
| | |||
<span style="color:#FFAA00;">(5%)</span> Amber Fragment<br> | |||
<span style="color:#FFFF55;">(30%)</span> Rabbit Foot<br> | |||
<span style="color:#FFFF55;">(30%)</span> String<br> | |||
<span style="color:#FFFF55;">(30%)</span> Leather | |||
|Found near Cliffs | |||
|- | |||
|[[File:Desert Hare.png|left|frameless|90x90px]] | |||
|Desert Hare | |||
| | |||
<span style="color:#FFAA00;">(5%)</span> Amber Fragment<br> | |||
<span style="color:#FFFF55;">(30%)</span> Rabbit<br> | |||
<span style="color:#FFFF55;">(30%)</span> Rabbit Hide<br> | |||
<span style="color:#FFFF55;">(30%)</span> Rabbit Foot | |||
|Found Everywhere | |||
|- | |||
|[[File:Camel.png|left|frameless|90x90px]] | |||
|Camel | |||
| | |||
<span style="color:#FFAA00;">(5%)</span> Amber Fragment<br> | |||
<span style="color:#FFFF55;">(30%)</span> Leather<br> | |||
<span style="color:#FFFF55;">(30%)</span> Sand<br> | |||
<span style="color:#FFFF55;">(30%)</span> Wheat | |||
|Found near Water | |||
|- | |||
|[[File:ScorpionSA.png|left|frameless|90x90px]] | |||
|Scorpion | |||
| | |||
<span style="color:#FFAA00;">(5%)</span> Amber Fragment<br> | |||
<span style="color:#FFFF55;">(30%)</span> Fermented Spider Eye<br> | |||
<span style="color:#FFFF55;">(30%)</span> String<br> | |||
<span style="color:#FFFF55;">(30%)</span> Bone Meal | |||
|Found Everywhere | |||
|} | |||
== | == Bosses == | ||
{| | |||
!Texture | |||
== | !Mob Name | ||
!Drops | |||
!Rare Drops | |||
<code><small>base% * (1 + 0.2 * lootingLevel)</small></code> | |||
!Caught During | |||
|- | |||
|[[File:Landshark.png|left|frameless|90x90px]] | |||
|Land Shark | |||
| | |||
<span style="color:#55FF55;">(100%)</span> 2-5 Bone<br> | |||
<span style="color:#55FF55;">(100%)</span> 1-4 Cod | |||
| rowspan="4" | | |||
<span style="color:#FFAA00;">(4%)</span> Sanctum Key<br> | |||
<span style="color:#FFAA00;">(8%)</span> Message in a Bottle<br> | |||
<span style="color:#5555FF;">(15%)</span> Shell<br> | |||
<span style="color:#FFFF55;">(30%)</span> Shark Tooth<br> | |||
<span style="color:#FFFF55;">(50%)</span> Sand Dollar<br> | |||
<span style="color:#55FF55;">(100%)</span> 2 Amber Fragment | |||
|Day/Night | |||
|- | |||
|[[File:Sandworm.png|left|frameless|90x90px]] | |||
|Sand Worm | |||
| | |||
<span style="color:#55FF55;">(100%)</span> 1-3 Sand<br> | |||
<span style="color:#55FF55;">(100%)</span> 2-5 String | |||
|Day/Night | |||
|- | |||
|[[File:Sandrattler.png|left|frameless|90x90px]] | |||
|Sand Rattler | |||
| | |||
<span style="color:#55FF55;">(100%)</span> 1-3 Bone<br> | |||
<span style="color:#55FF55;">(100%)</span> 1-2 Spider Eye | |||
|Day/Night | |||
|- | |||
|[[File:Desertserpent.png|left|frameless|90x90px]] | |||
|Desert Serpent | |||
| | |||
<span style="color:#55FF55;">(100%)</span> 2-5 Leather | |||
|Day/Night | |||
|- | |||
|[[File:Mummy.png|left|frameless|90x90px]] | |||
|Mummy | |||
| | |||
<span style="color:#55FF55;">(100%)</span> 1-3 Rotten Flesh<br> | |||
<span style="color:#55FF55;">(100%)</span> 2-5 Bone | |||
| rowspan="2" | | |||
<span style="color:#FFAA00;">(0.5%)</span> Immortal Key<br> | |||
<span style="color:#FFAA00;">(6%)</span> Sanctum Key<br> | |||
<span style="color:#5555FF;">(15%)</span> Message in a Bottle<br> | |||
<span style="color:#5555FF;">(25%)</span> Shell<br> | |||
<span style="color:#FFFF55;">(50%)</span> Shark Tooth<br> | |||
<span style="color:#55FF55;">(70%)</span> Sand Dollar<br> | |||
<span style="color:#55FF55;">(100%)</span> 4 Amber Fragment | |||
|Night | |||
|- | |||
|[[File:Cinderfin.png|left|frameless|90x90px]] | |||
|Cinderfin | |||
| | |||
<span style="color:#55FF55;">(100%)</span> 1-3 Magma Cream<br> | |||
<span style="color:#55FF55;">(100%)</span> 2-5 Blaze Powder | |||
|Night | |||
|} | |||
== Page Up == | == Page Up == | ||
* [[Fishing Areas]] | * [[Fishing Areas]] | ||
Latest revision as of 22:48, 27 January 2026
General Information

Forbidden Temple is Area 7 and consists of an ancient temple. Inside are sources of water as well as various dangers. The Forbidden Temple can be reached from the Scorched Oasis and by completing Mirage Waters.
Fish Species
| Texture | Name | Rarity | Texture | Name | Rarity |
|---|---|---|---|---|---|
 |
Ruby Danio | Common, Rare |  |
Steelhead | Rare, Exotic |
 |
Heatwave Barb | Common, Rare |  |
Phoenix Minnow | Rare, Exotic |
 |
Desert Dartfish | Common, Rare |  |
Sunburst Guppy | Rare, Exotic |
 |
Desert Pupfish | Common, Rare |  |
Sonora Sucker | Exotic,
Legendary |
 |
Rainbow Trout | Common, Rare |  |
Yaqui Catfish | Exotic,
Legendary |
 |
Inferno Tetra | Rare, Exotic |  |
West African Crocodile | Legendary |
 |
Popeyed Goldfish | Rare, Exotic |  |
Devils Hole Pupfish | Mystical |
 |
Golden Carp | Rare, Exotic | |||
Shop

Information
Purchase items from the Fish Merchant in the Sacred Pass using Spirit Fragments. Fragments can be obtained from killing both area mobs and bosses.
Items
- 32x Sand
- Scythe
- Saddle
- Camel Spawn Egg
Area Mobs
| Texture | Mob Name | Drops
|
Location |
|---|---|---|---|
 |
Fish |
(5%) Amber Fragment |
Found in Water |
 |
Hyena |
(5%) Amber Fragment |
Found near Small Cliffs |
 |
Lizard |
(5%) Amber Fragment |
Found in Shady Areas |
 |
Sand Cat |
(5%) Amber Fragment |
Found near Cliffs |
 |
Desert Hare |
(5%) Amber Fragment |
Found Everywhere |
 |
Camel |
(5%) Amber Fragment |
Found near Water |
 |
Scorpion |
(5%) Amber Fragment |
Found Everywhere |
Bosses
| Texture | Mob Name | Drops | Rare Drops
|
Caught During |
|---|---|---|---|---|
 |
Land Shark |
(100%) 2-5 Bone |
(4%) Sanctum Key |
Day/Night |
 |
Sand Worm |
(100%) 1-3 Sand |
Day/Night | |
 |
Sand Rattler |
(100%) 1-3 Bone |
Day/Night | |
 |
Desert Serpent |
(100%) 2-5 Leather |
Day/Night | |
 |
Mummy |
(100%) 1-3 Rotten Flesh |
(0.5%) Immortal Key |
Night |
 |
Cinderfin |
(100%) 1-3 Magma Cream |
Night |